
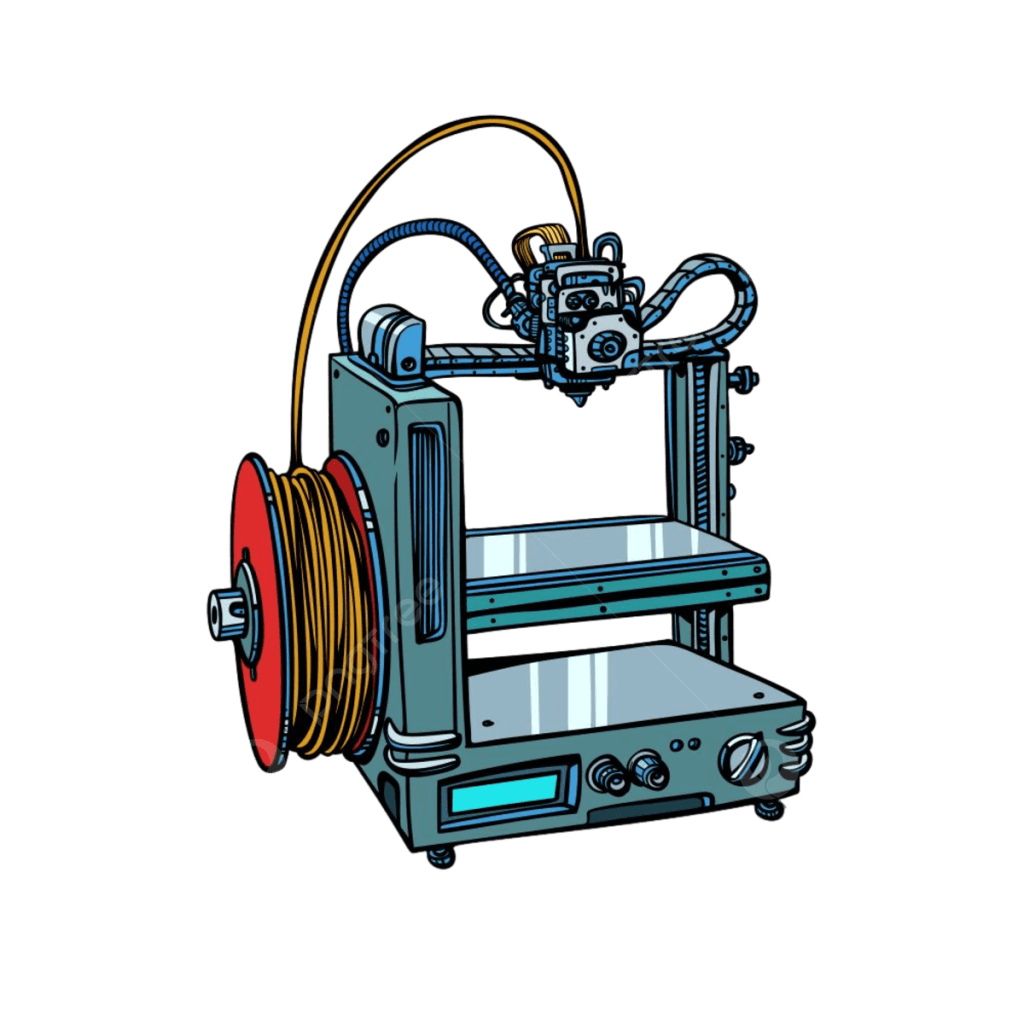
Free 3D Printing Course
We offer a free 3D printing course at the Engineering Encyclopedia centers, where we explain the course content through videos and live demonstrations on our website.
3D Makers: Fra Lek til Innovasjon er et unikt kurs fra Engineering Encyclopedia, designet for å lære barn (4–12 år) og ungdom (12–18 år) kunsten av 3D-utskrift på en morsom og pedagogisk måte. Kurset gir deltakerne muligheten til å transformere tegninger på papir til fysiske 3D-modeller ved bruk av miljøvennlig PLA-plast.
🔹 Nivå 1 (4–12 år): Barna lærer grunnleggende om 3D-utskrift gjennom enkle, interaktive aktiviteter som kombinerer lek og læring. De utforsker kreativ design og lager sine egne modeller, samtidig som de blir introdusert til bærekraftige materialer.
🔹 Nivå 2 (12–18 år): Ungdom får en dypere forståelse av FDM-printere, designprosesser og praktisk bruk av 3D-modellering. De lærer avanserte utskriftsteknikker og deltar i utfordringer som utvikler både tekniske og kreative ferdigheter.
Gjennom workshops og konkurranser får deltakerne en praktisk opplevelse med 3D-utskrift, samtidig som de lærer om miljøvennlige materialer og bærekraftig teknologi. Kurset inspirerer neste generasjons skapere og innovatører! 🚀
📚 The course includes:
- Free STL File Websites
- Transferring files to the printer, starting the printing process, and hands-on manufacturing using 3D printing techniques.
| Name | Explan |
|---|---|
| Thingiverse | – Largest collection of free STL files for hobbyists. |
| Cults 3D | Downloading files from 3D design websites. |
| 3D models database | – Community-driven platform with quality models. |
| MyMiniFactory | – Curated high-quality models for tabletop gaming. |
| Gambody | – High quality STL files for gaming models. |
| GrabCAD | – Models for professional and engineering use. |
| CGTrader | – High quality paid models for professionals. |
| TurboSquid | – Marketplace for detailed 3D models. |
You will have the opportunity for practical training, enhancing your understanding and real-world application of 3D printing.
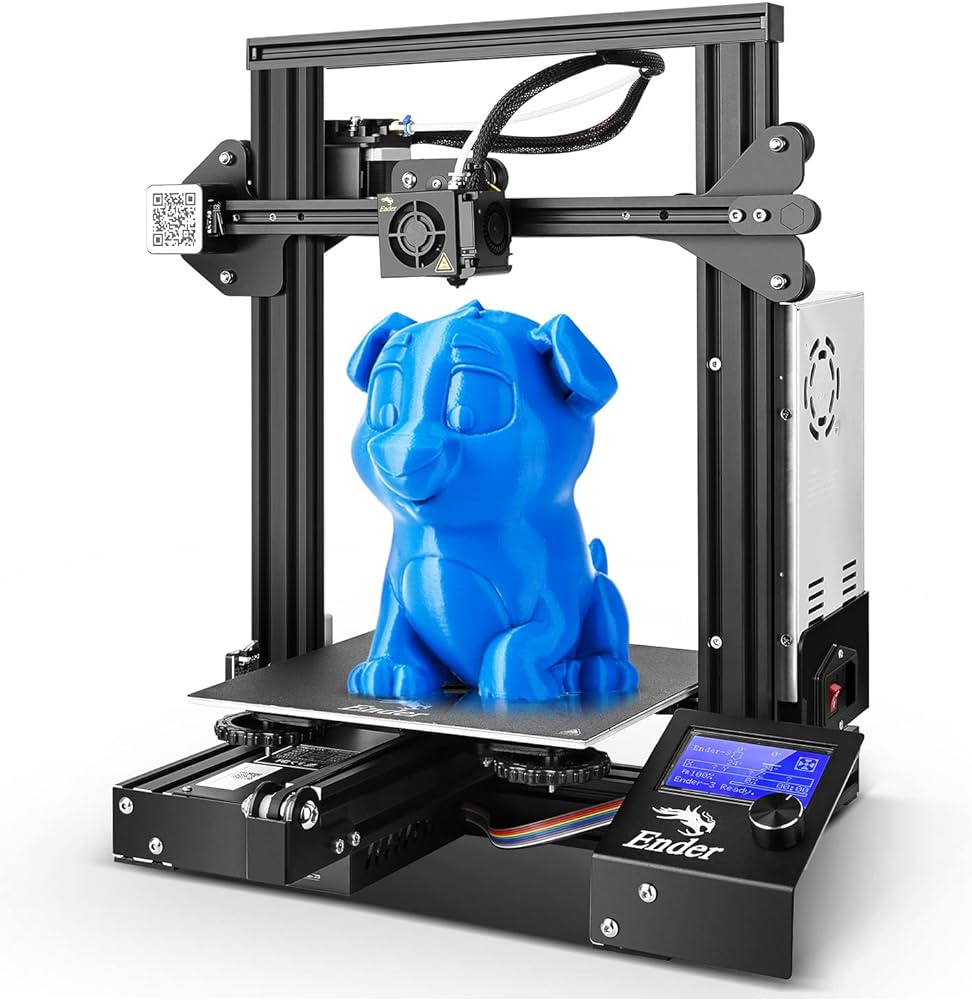
1. Find Out the Name of Your 3D Printer
- Check the label or sticker on your printer (usually on the back or bottom).
- Look at the user manual or packaging.
- If you have access to the printer’s display or software, check the settings.
- If you’re unsure, send me a picture or description, and I might be able to help identify it.
2. Download and Install Cura
Cura is a popular slicing software used to prepare 3D models for printing. Here’s how to get it:
- Go to the Ultimaker Cura official website.
- Download the latest version for your operating system (Windows, macOS, or Linux).
- Install it by following the on-screen instructions.
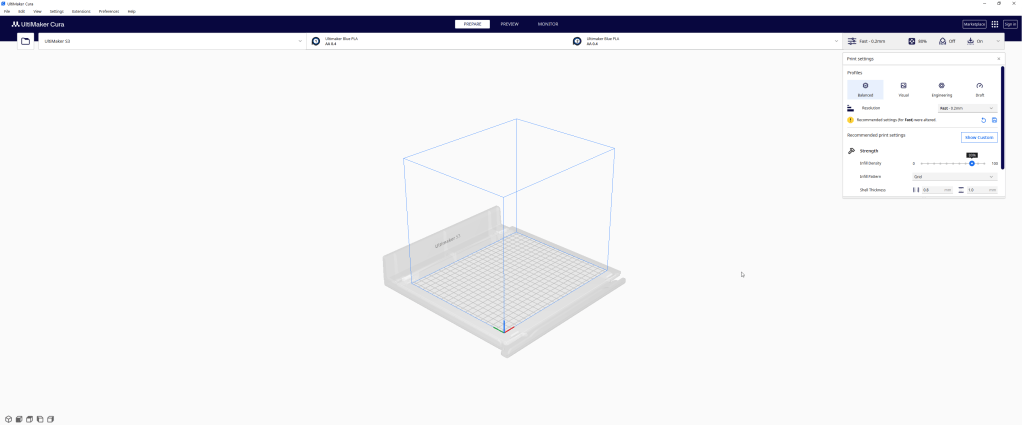
3. Set Up Cura for Your 3D Printer
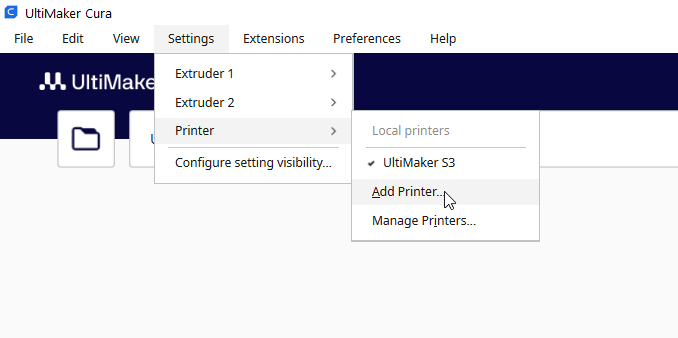
- Open Cura and select “Add a Printer”.
- If your printer model is listed, select it. If not, choose “Custom” and enter the specifications manually.
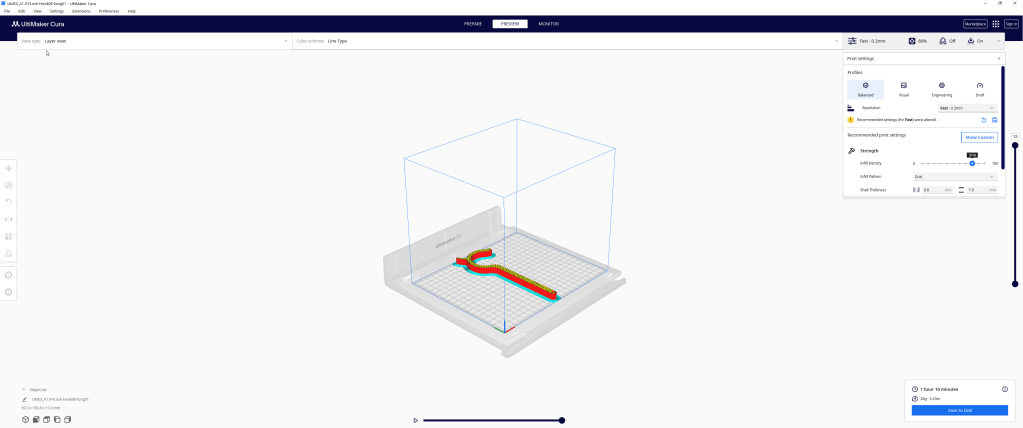
- Load a 3D model file (STL, OBJ, or 3MF format).
- Adjust settings like layer height, print speed, and infill.
- Click “Slice” to generate the G-code file for your printer.

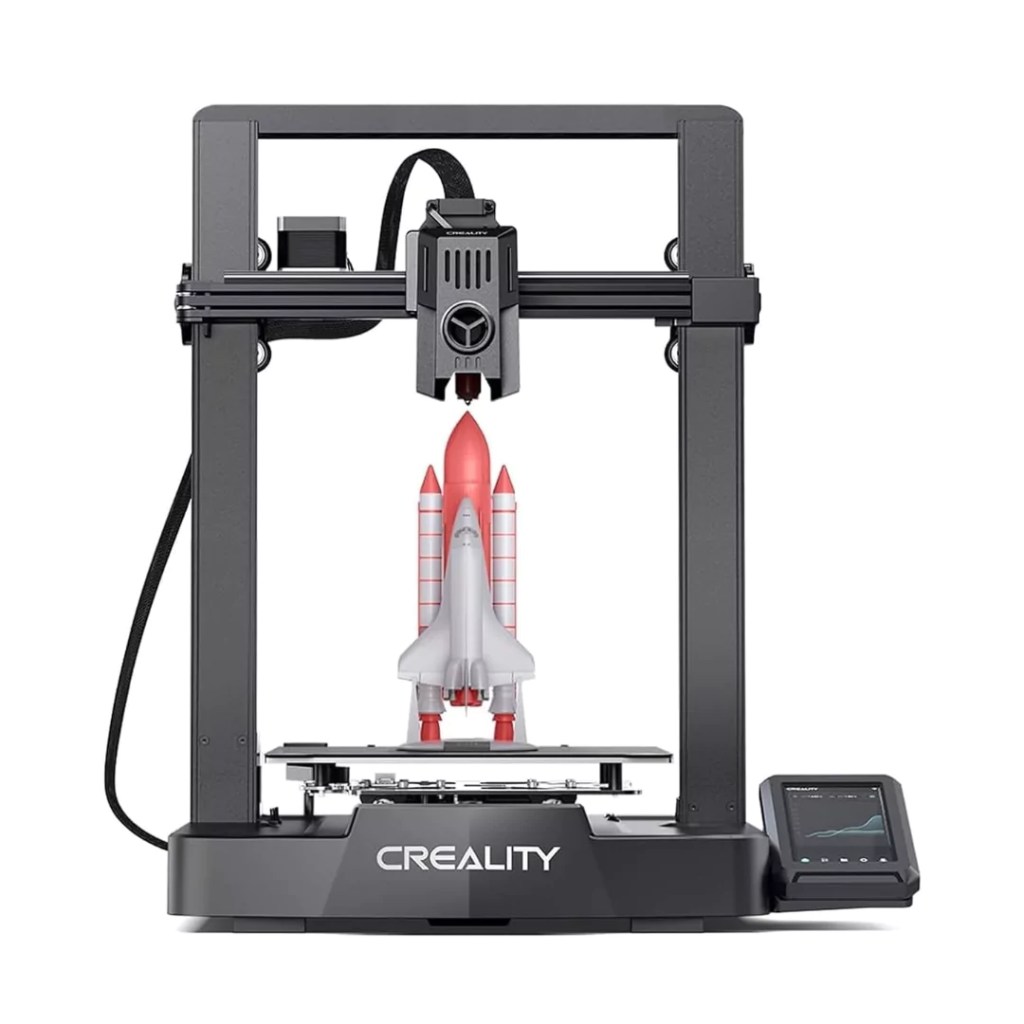
4. Start Printing
- Save the G-code file to an SD card or USB (or send it directly if your printer supports Wi-Fi).
- Load the filament into the printer and ensure the bed is leveled.
- Start the print and monitor the first few layers for any issues.
How to Convert a JPG Image to STL Using Lithophane Websites
Lithophanes are 3D-printed images that reveal details when backlit. Converting a JPG (or PNG) image to an STL file allows you to create a 3D-printable lithophane. Below is a step-by-step guide to converting your image using a lithophane generator.
Step-by-Step Guide to Converting JPG to STL
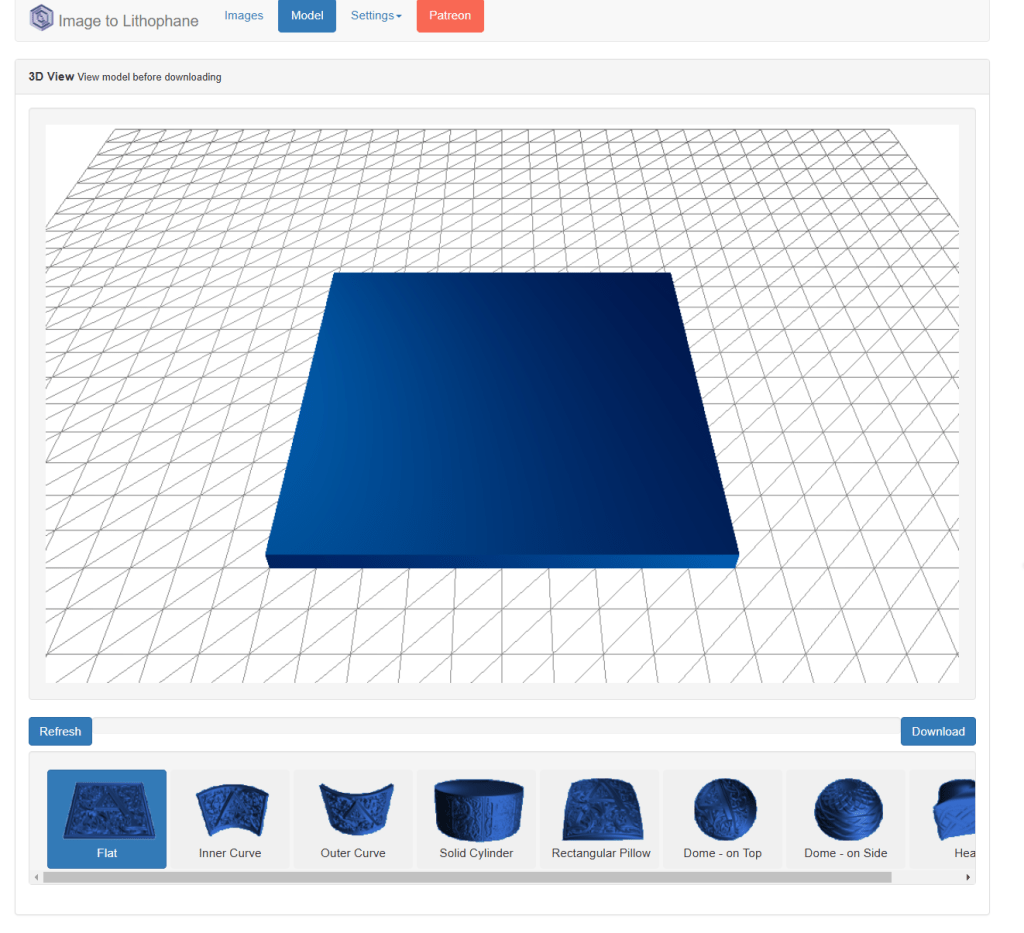
Step 1: Visit a Lithophane Generator Website
There are several online tools for creating lithophanes. One of the most commonly used is Lithophane or ItsLitho . Open the website in your browser.
Step 2: Upload Your Image (JPG or PNG)
- Click on “Images” or “Upload” (depending on the website).
- Select the JPG file from your device.
- Wait for the image to load into the tool.
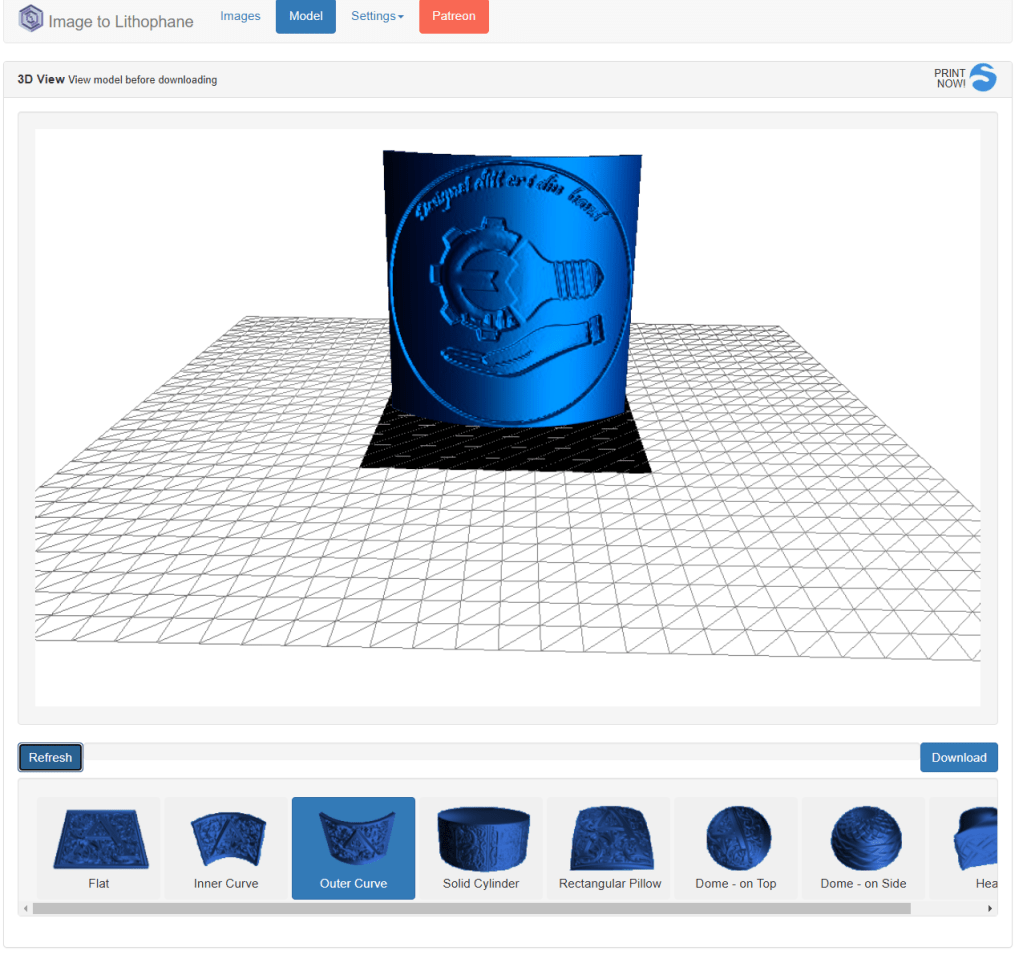
Step 3: Adjust Lithophane Settings
Most lithophane generators allow you to customize the shape, thickness, and resolution of the model.
- Select Shape: Choose from flat, dome, sphere, or other styles.
- Adjust Thickness: A thicker base creates more contrast.
- Set Dimensions: Adjust width, height, and depth according to your 3D printer’s capabilities.
- Preview the Lithophane: Check the model before exporting.
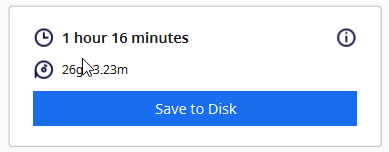
Step 4: Generate and Download the STL File
- Click on “Generate STL” or “Download STL” (this may take a few seconds).
- Save the STL file to your computer.
Step 5: Import into Slicing Software
To prepare the STL file for 3D printing:
- Open Cura, PrusaSlicer, or any slicer software.
- Import the STL file and adjust print settings (layer height, infill, supports, etc.).
- Slice the model and export the G-code for your 3D printer.
Step 6: Start 3D Printing
Load the G-code onto your 3D printer and begin printing. Use a light-colored filament for better contrast when backlit.
Conclusion
Converting a JPG to STL for lithophanes is easy with the right tools. By following these steps, you can turn your favorite photos into beautiful 3D-printed lithophanes that come to life when illuminated! 🚀
Best AI Tools for Designing STL 3D Models
Best AI-Powered Mechanical Design Tools
If you’re a mechanical engineer or industrial designer, AI can help you optimize designs, enhance performance, and save time. Below are some of the best AI-driven tools and platforms for mechanical design.
| CAD Program | Company |
| 1. Fusion 360 | Autodesk |
| 2. NX | Siemens |
| 3. AI Plugins | SolidWorks (dassault systemes corporation) |
| 4. nTopology | |
| 5. Onshape | |
| 6. ANSYS Discovery | |
| 7. FreeCAD | |
| 8- 3D Model Generator | AI |
| 9. Thinkercad |
1. Autodesk Fusion 360
🔹 Description: A comprehensive software that utilizes AI-powered generative design to create optimized mechanical models based on user inputs such as material, loads, and design constraints.
🔹 Key Features:
- Advanced 3D modeling with stress analysis and simulation.
- AI-driven shape optimization to reduce weight and enhance efficiency.
- Supports CNC machining and 3D printing.
2. Siemens NX
🔹 Description: A powerful CAD/CAM/CAE platform that integrates AI for complex mechanical product design and manufacturing automation.
🔹 Key Features:
- Generative design for creating advanced engineering models.
- Structural and thermal stress analysis.
- AI-assisted robotic manufacturing and automation.
3. SolidWorks with AI Plugins
🔹 Description: One of the most popular mechanical design tools, enhanced by AI-powered topology optimization plugins that refine designs based on engineering constraints.
🔹 Key Features:
- 3D modeling for mechanical parts and assemblies.
- Integration with simulation and stress analysis tools.
- AI-driven design improvements to reduce weight and increase durability.
4. nTopology
🔹 Description: An advanced generative design software that leverages AI for structural optimization, commonly used in manufacturing and industrial design.
🔹 Key Features:
- Creation of lightweight, lattice-based structures.
- Optimization for 3D printing and manufacturing.
- Advanced simulation tools for performance analysis.
5. Onshape
🔹 Description: A cloud-based mechanical design platform that enables real-time collaboration and integrates AI for streamlined engineering workflows.
🔹 Key Features:
- 3D design on any device, no software installation needed.
- Supports generative design and stress analysis.
- Cloud-based system for seamless team collaboration.
6. ANSYS Discovery
🔹 Description: A simulation-driven design tool that uses AI to predict the performance of mechanical components before manufacturing.
🔹 Key Features:
- Real-time simulations for fluid dynamics, thermal performance, and structural integrity.
- AI-powered design optimization based on physical constraints.
- Seamless integration with SolidWorks, Fusion 360, and other CAD software.
Several AI-powered tools make it easier to design 3D models in STL format, streamlining the 3D printing process. Here are some of the best options:
الموسوعة الهندسية للأطفال body { font-family: ‘Cairo’, sans-serif; background-color: #f4f4f4; margin: 0; padding: 0; } header { background-color: #004080; color: white; padding: 1rem; text-align: center; } nav { background: #e0e0e0; padding: 0.5rem; text-align: center; } nav a { margin: 0 1rem; color: #004080; text-decoration: none; font-weight: bold; } main { padding: 2rem; text-align: right; } section { margin-bottom: 2rem; background: white; padding: 1rem; border-radius: 10px; box-shadow: 0 0 5px rgba(0,0,0,0.1); } footer { background-color: #004080; color: white; text-align: center; padding: 1rem; margin-top: 2rem; }الموسوعة الهندسية للأطفال
تعلم التصميم والطباعة ثلاثية الأبعاد بطريقة ممتعة وبسيطة
مرحباً بكم!
هذا الموقع مختص بتدريب الأطقال والشباب بالطباعة الثلاثية الأبعاد والتصميم الميكانيكي
منصة تعليمية تفاعلية تهدف إلى تعليم الأطفال أساسيات الهندسة، الطباعة ثلاثية الأبعاد، والتصميم ثلاثي الأبعاد من خلال دروس وألعاب ونماذج تفاعلية.
اكتشف كيف تصمم أشكالاً هندسية ثلاثية الأبعاد بسهولة! استخدم أدواتنا التفاعلية لتصميم وطباعة نماذجك الخاصة مباشرة من المتصفح[6].
فيديوهات تعليمية
الموسوعة الهندسية للأطفال
عن الموسوعة
تعلم التصميم ثلاثي الأبعاد
نماذج هندسية تفاعلية
مكعب
كرة
